Choosing your scanbodies
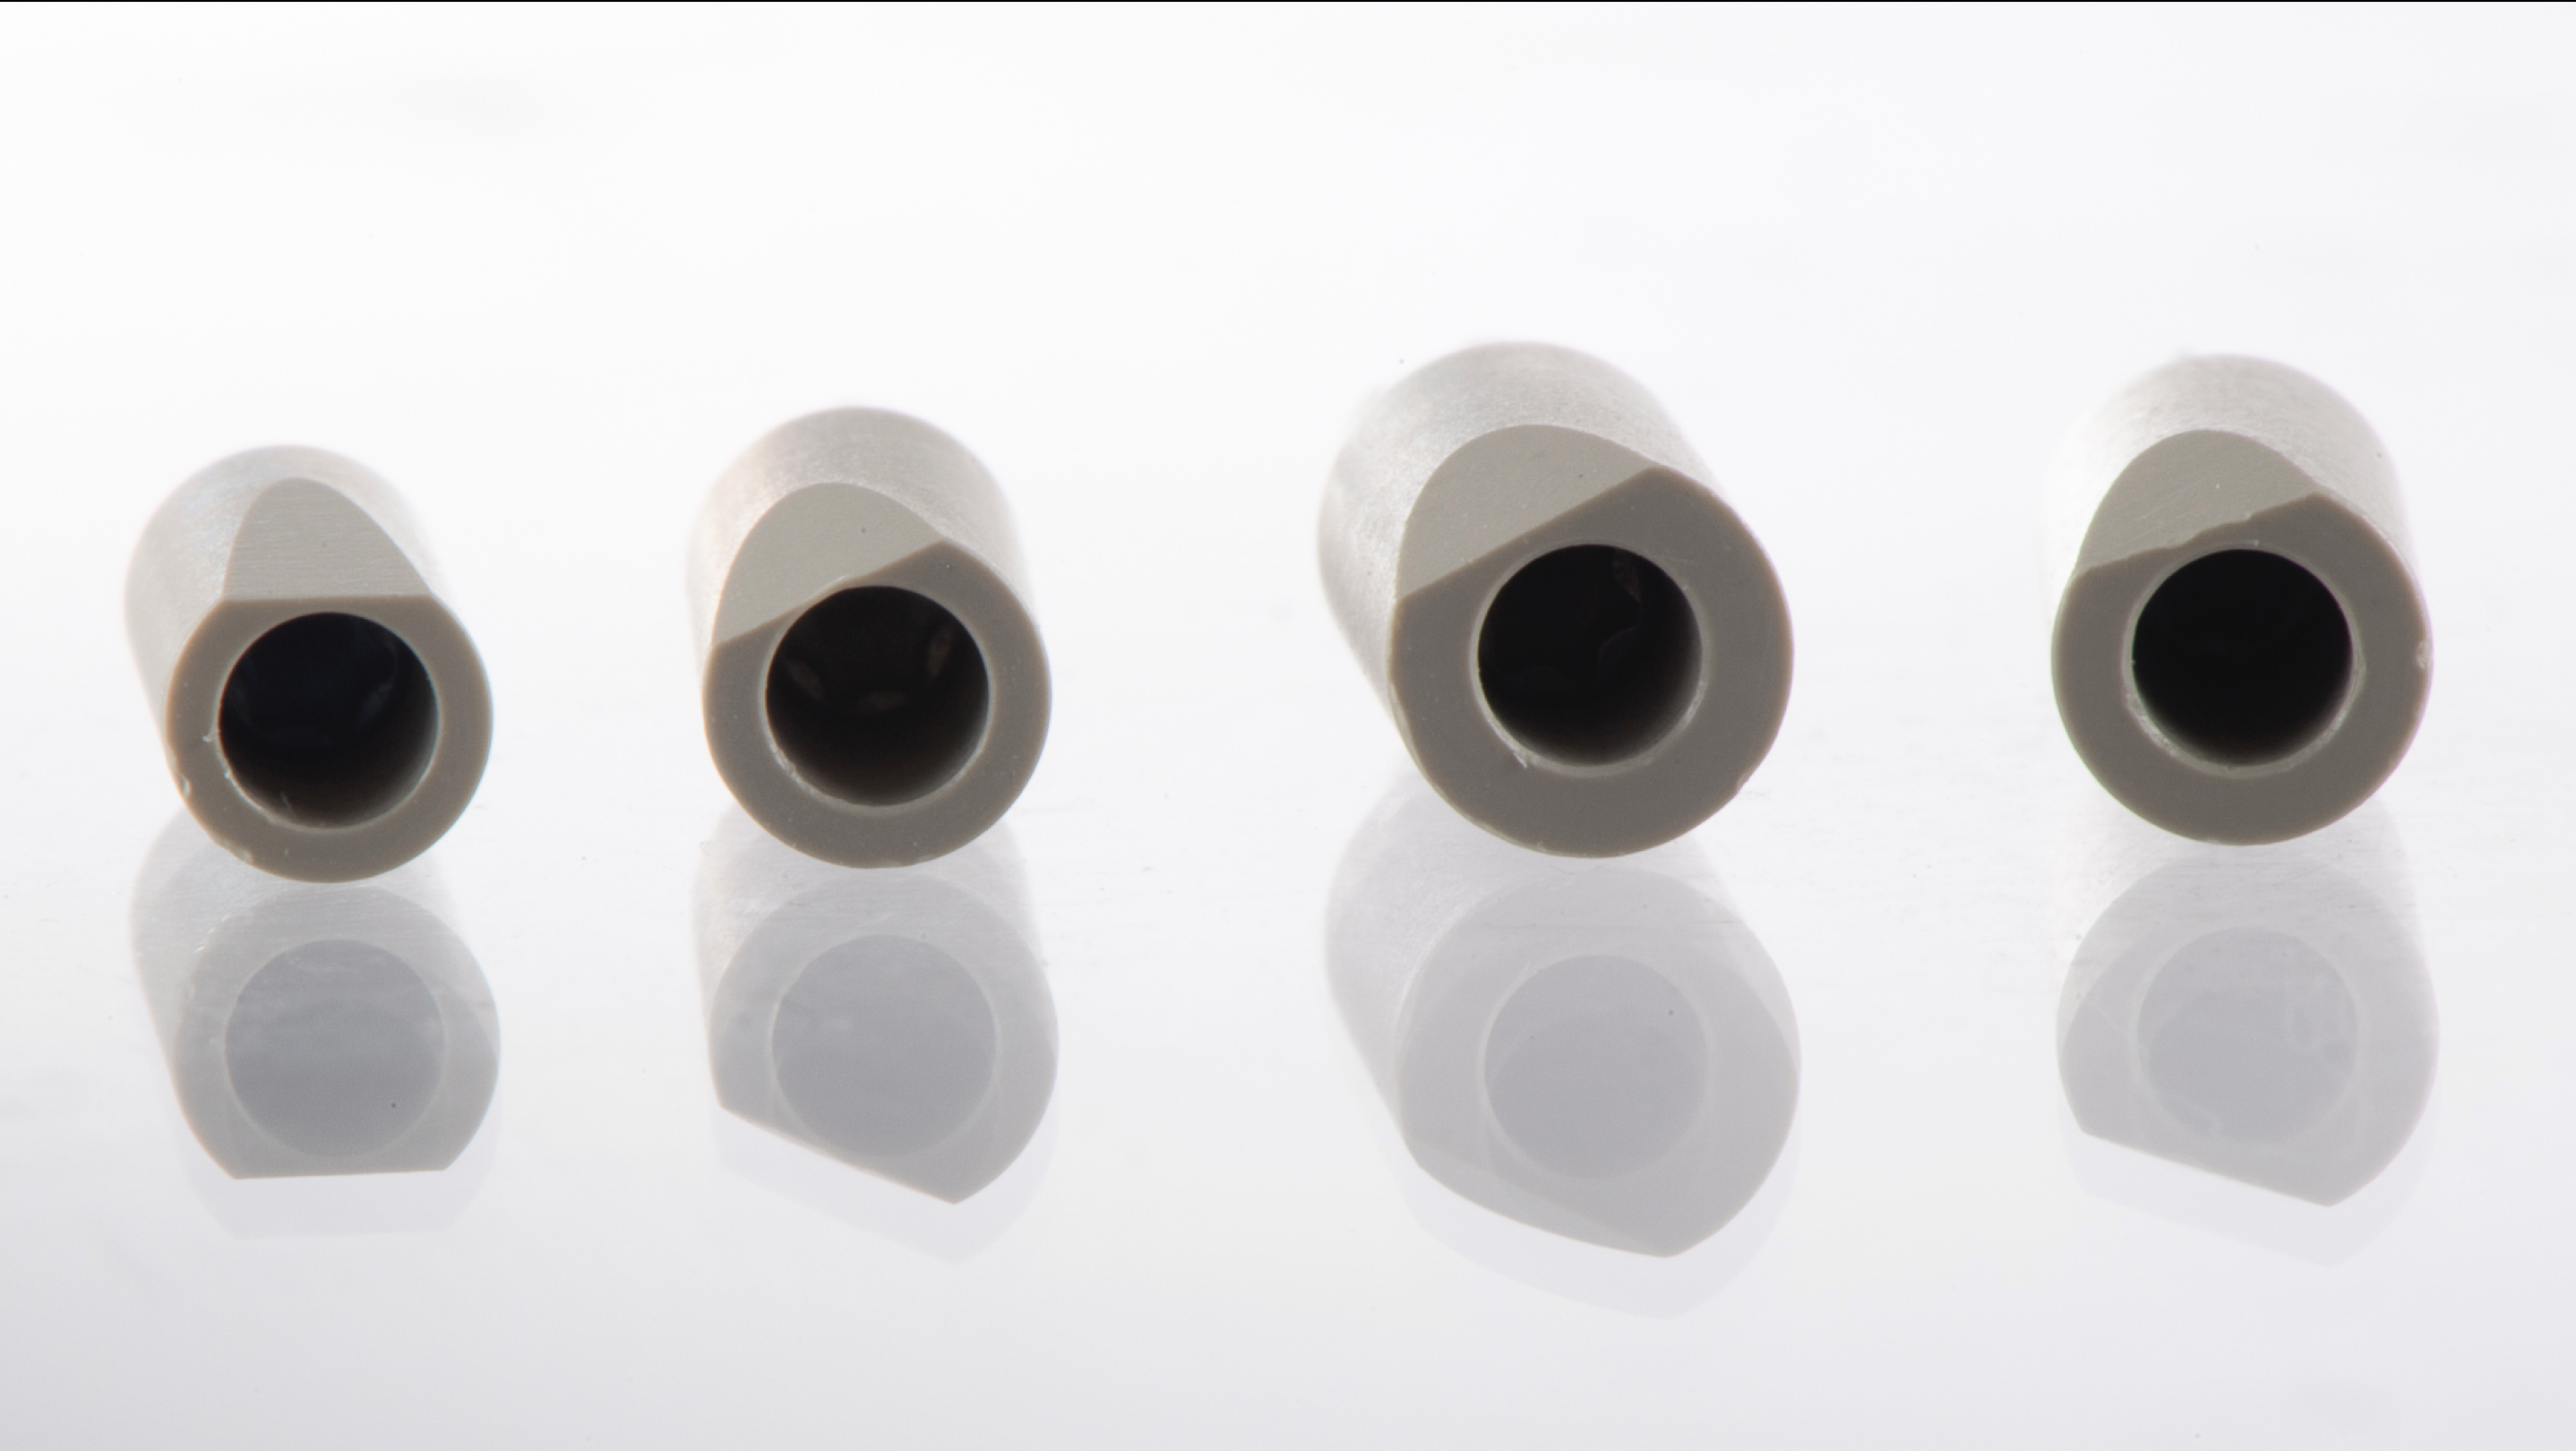
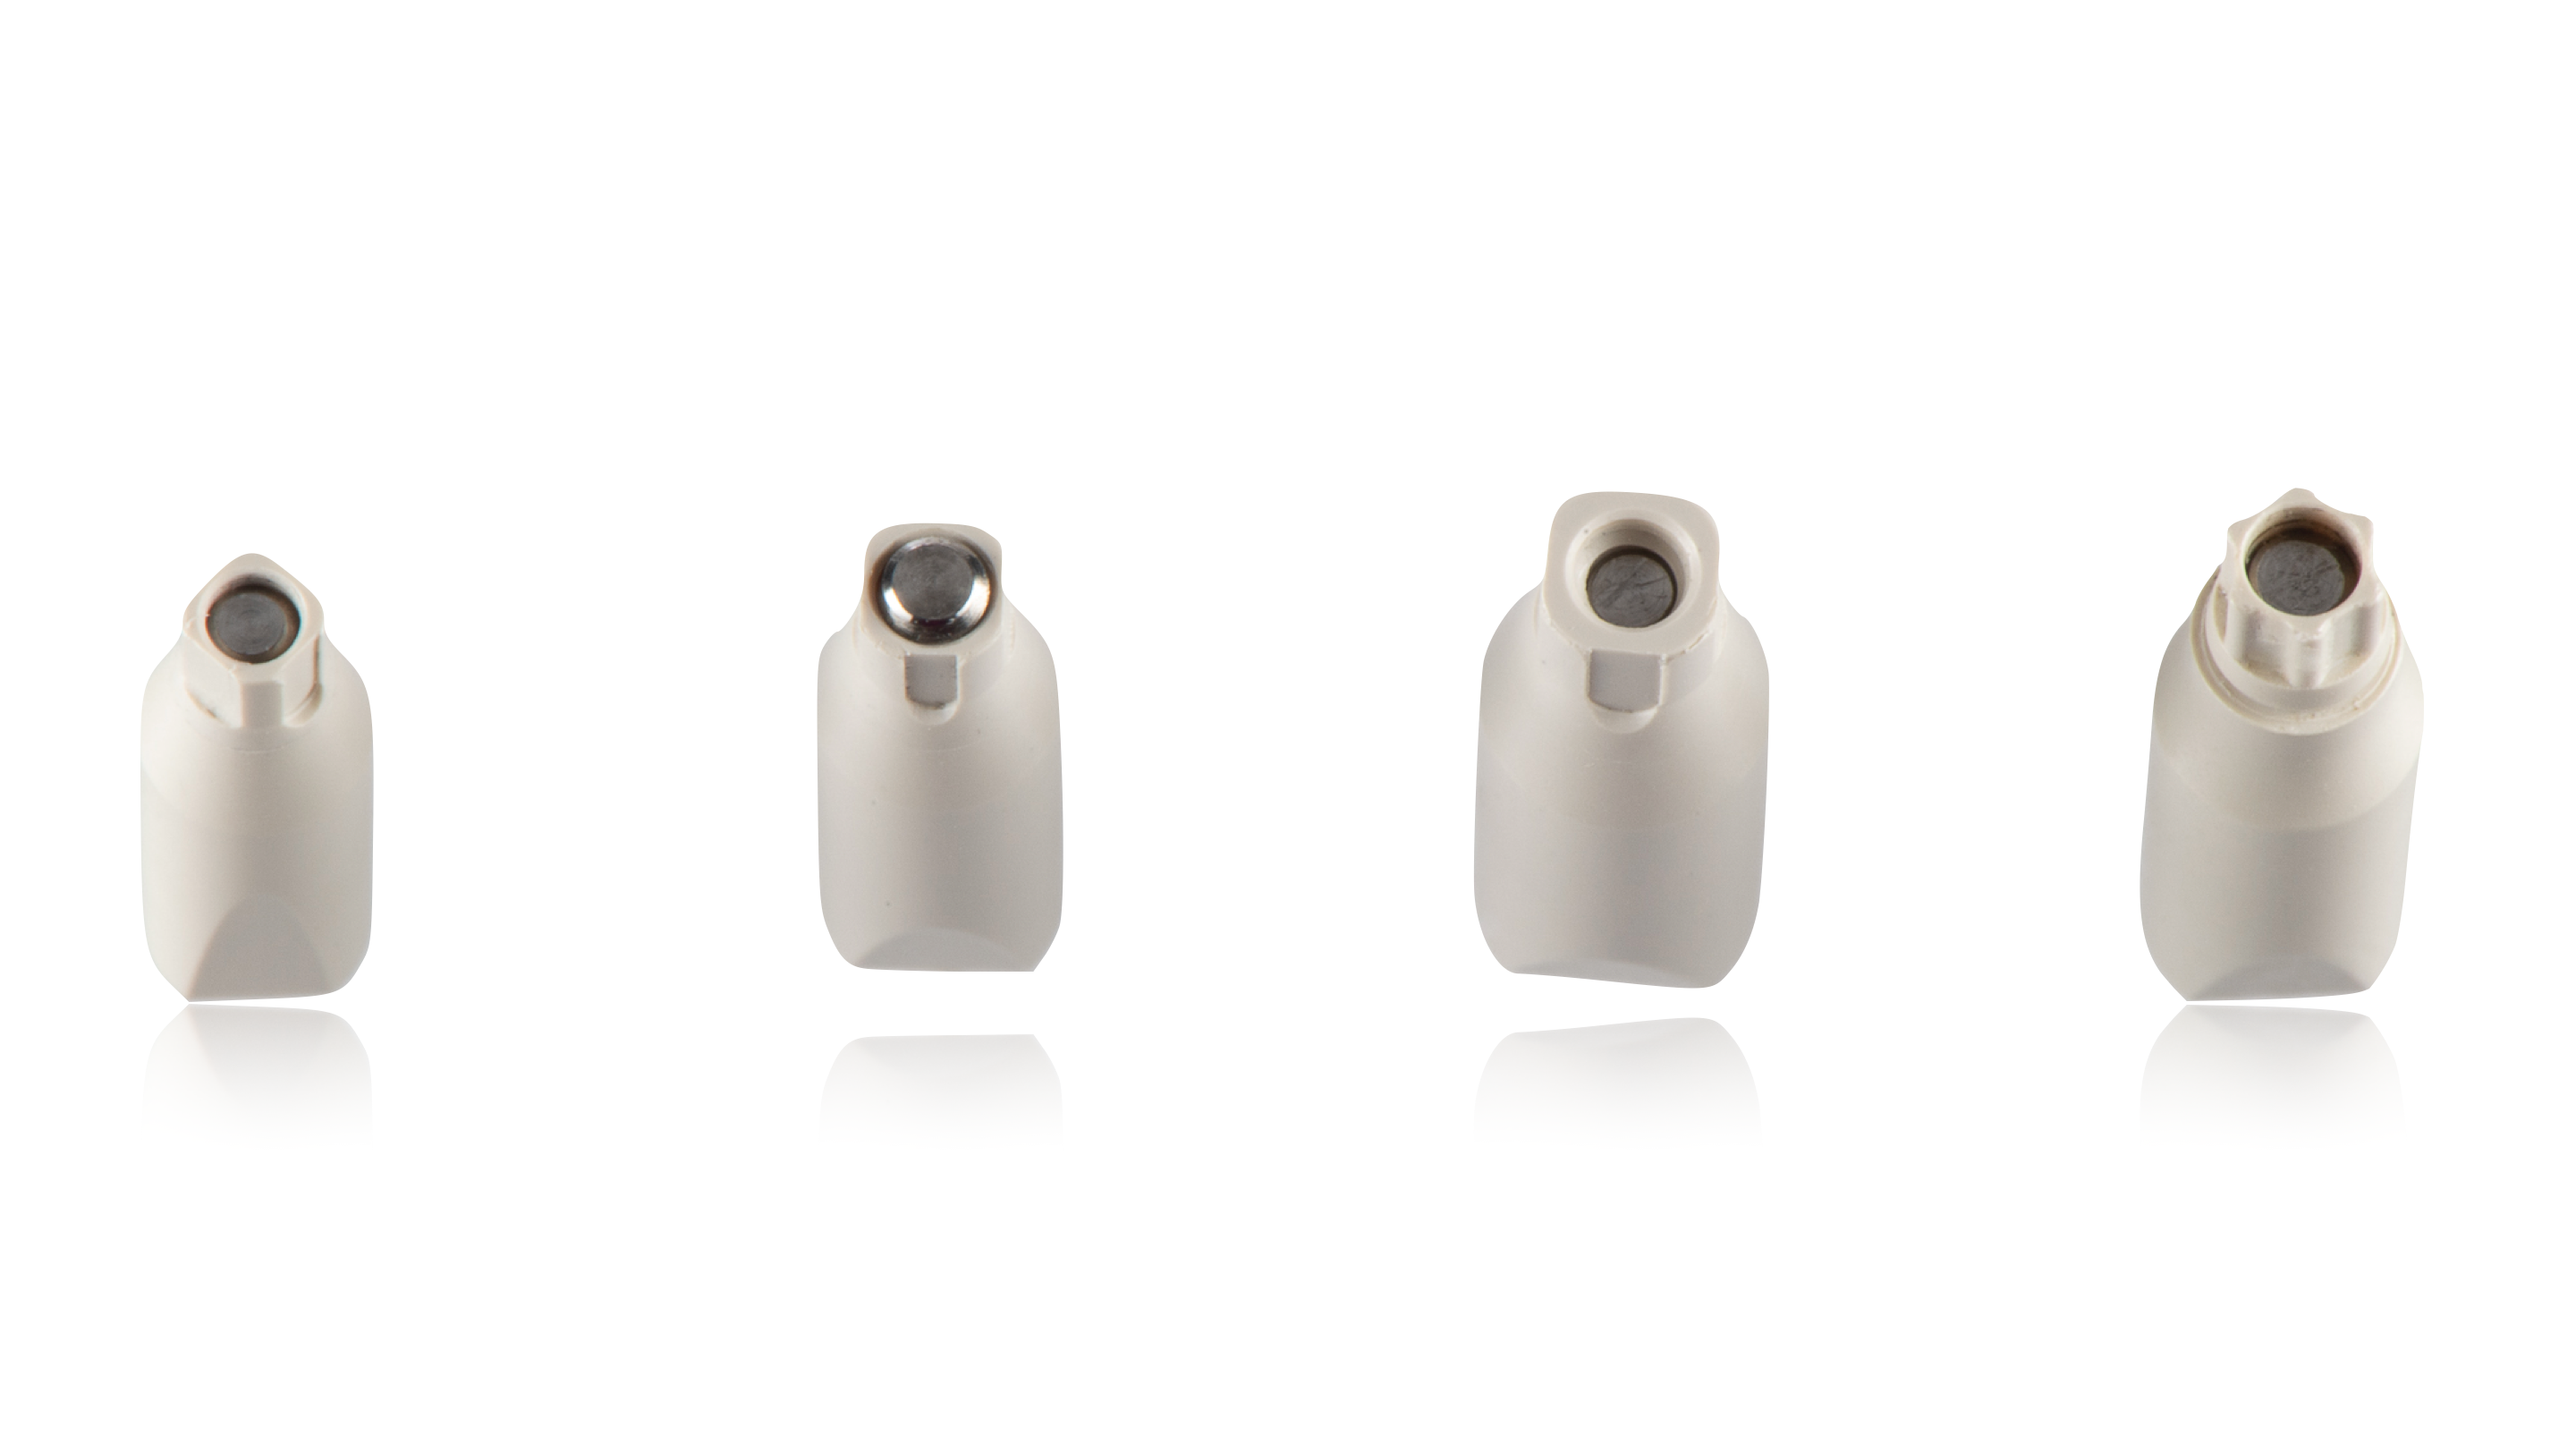
There are some common misunderstandings when talking about scanbody choice. Different companies may provide scanbodies for a specific implant system. We can work on original parts, but also on replacements. We need to be aware of the consequences of such choices to consciously decide on which scanbodies we buy. What matters most is what happens to our scans in a dental laboratory. The use of original scanbodies for the intended implant system is in general a very safe choice. It will allow the technician to work with any given CAD/CAM software, provided that the implant producer supports the software with their virtual implant library.
Let’s look at the implant library as a dictionary. The technician will use the dictionary (implant library), to look up the scanbody part visible above the gingiva and translate it into the proper position of the implant index and the implant platform depth under the gingiva. In this way the CAD/CAM software allows us to further choose engaging abutments with different gingival heights to restore the crowns, building perfect emergence profiles. The misunderstandings start when we use replacement scanbodies from different manufacturers. The material of which the scanbody is made is not important. What is important is choosing scanbodies that are compatible with our workflow. If our technicians use particular CAD/CAM software, and the software manufacturer provides their own scanbodies we might want to use those (for example ZirkonZahn, 3Shape). However, we might end up in a situation when we have scanbodies from a specific company, but our technicians work with CAD/CAM software from a different manufacturer and they cannot use the scan. This would be the issue when the manufacturers of scanbodies did not release a library of their parts for a specific CAD/CAM software yet. It can be an issue with newer implant systems or newer abutments as well – the CAD/CAM software might not yet have the updated library to restore such implants if the manufacturer of implants did not provide it. In such situations we would most probably have to send the work to another lab, buy another scanbody and redo the IO scans or find another prosthetic workaround. If we want to use replacement abutments from a specific company which provides those abutments and their own scanbodies, we might want to use those (for example DAS, Medentika). However, we need to be aware that this will limit us to the use of those replacement abutments instead of the original implant manufacturer parts. We may also use the original implant manufacturer scanbodies, which in most cases allows the technicians to choose the CAD/CAM software they work with and us to choose whether we want to use original or replacement parts for the implant restoration.
Scanbody scanning – tips and tricks
While scanning, we need to keep our scanbodies dry and clean. Dense saliva or blood residues may result in scanbody distortion on the scans or in lack of fluency of our scanner (and a bit of frustration getting the scan done). Scanbodies should also be free of scanning spray, as a thicker scanning spray layer may result in similar inadequacies. When scanning, it is also very important to overlap the areas the scanner has already captured. In this way we can minimize distortions around the scanned area.
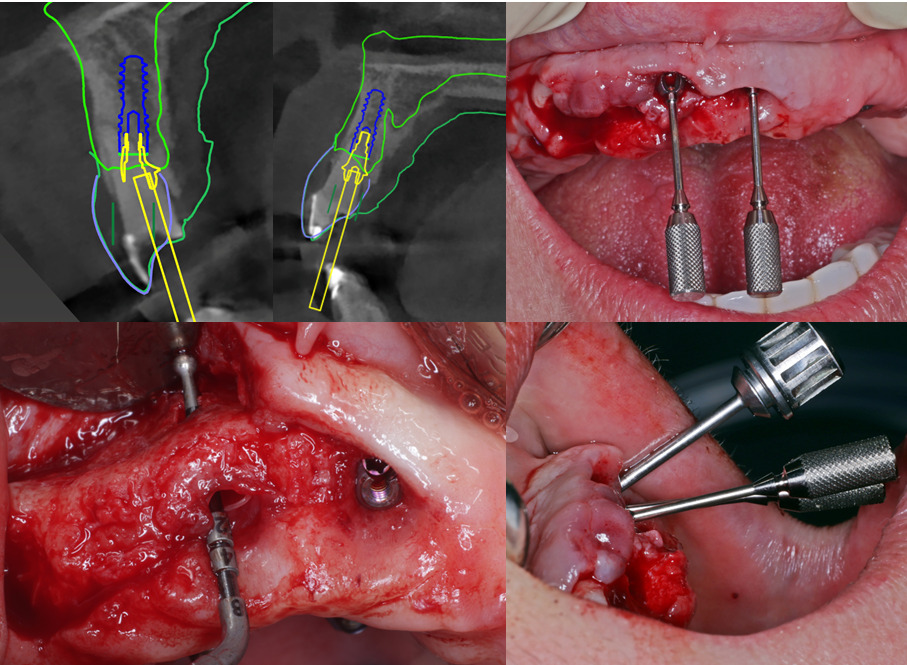
Emergence profile and interproximal surfaces may be tricky to catch, but IO scanner software has a good solution. While scanning we use a tool that enables us to lock a specific scan surface. Like with the cutting tools, we need to mark the surface that we are interested in. Using the locking tool, we can scan part of the arch, scan the emergence profile as soon as we unscrew the temporary crown or the healing abutment, lock the emergence profile surface on the scan, screw down the scanbody and scan the scanbody in the dental arch. In this way, even if the gingiva collapses while we perform the rest of the scan, we’ll have a perfect shape recorded on our digital impression. If capturing the interproximal surfaces between the tooth and the scanbody is troublesome, we can scan the scanbody in the arch, lock the scanbody surface on the scan, remove the scanbody from the oral cavity and rescan the interproximal areas of neighboring teeth to get perfect contact points. If the interproximal surfaces are still hard to catch, you can use a bit of a scanning spray to help the scanner capture the tricky areas. And remember, even if you cannot capture the deepest part of the emergence profile, but you have the coronal part of the mucosa shape and the scanbody positioned with regard to the emergence profile and neighboring teeth – the technician will have enough information about the implant platform depth and the emergence profile to create the restoration. If the implants are positioned very deep and/or there are high bone peaks around the implant it is always a good idea to get in touch with the technician and design the emergence profile together.
There are a few traps we need to be cautious about while taking digital implant impressions. Because the scanbodies will not be splinted in the oral cavity, we can scan any given angulation of implants, from implant level, without any problems. We might not be able to restore such tilted implants using splinted crowns or bridges using engaging Ti-bases. Splinted implant-level restorations might need non-engaging Ti-bases or multiunit abutments even if the CAD/CAM software allows for the production of such a restoration with the use of stock engaging Ti-bases. In the case of traditional impressions, we simply wouldn’t be able to remove the impression as the implant transfers would be locked in the indexes. With digital impressions, in such situations the problem only comes up when the restoration is to be glued on a printed model if the technicians didn’t take care of this in the design stage.
Another problematic topic is the accuracy of intraoral scans. Yes, in controlled conditions the scanners may perform with stunning accuracy, even under 6um. We need to remember that these tools tend to behave problematically on a larger scale, less so in detail. In the bigger picture, because the IO scanner reconstructs the virtual model from hundreds or thousands of small pictures or video recordings, it may make a computation mistake on the larger scale. Like when taking a panoramic picture of a room with your smartphone. This results in distortions of full arch scans, making it impossible, for the time being, to reach a perfect passive fit on full arch implant restorations using an IO scanner only. Leading IO scanner manufacturers state clearly that the technology is not recommended for use on large span implant bridges. Many manufacturers recommend not using the IO for bridges on more than 2 implants and no longer then 3-4 teeth in span. This common misunderstanding of IO scanner limitations may lead to uneven loading of implants, bridge misfits or if unnoticed, to further long-term consequences for the patient. Digital protocols for restoration of full arches on implants are absolutely possible, yet they require the use of additional tools, such as photogrammetry, to record the implant positions predictably and attain perfect passive fit on full arch restorations.
Finally, your assistants are key to smooth workflows and equipment maintenance. It is a good idea to help them out and make sure the scanbodies are correctly sterilized and stored. Many of them look similar and may be hard to distinguish from each other for your staff in the beginning.
Summary
All in all, IO scanners are a great tool for dental practices. They are very helpful in implant planning or restoring implants, but as you can see not only the scanner needs to be taken into consideration. A good understanding of the tools and protocols allows us to provide better care for our patients.
Related articles: