Why digital?
As CAD/CAM is being more widely used in dentistry, how does it facilitate clinical practice? Digital workflows consist of data acquisition, computer-aided design, and computer-aided manufacturing. As these digital tools improve, they can mostly calculate errors in each procedure. Every step can be digitized, and the whole process can be standardized and improve the accuracy of restorations to get the most suitable parameters. In this way, we can save time without compromising treatment outcomes, especially in fixed prostheses and implant procedures. Also, all the data, such as initial intraoral status, extraoral data, diagnostic wax-up, master model, and follow-up status, can be aligned into a single coordinate system. Digital data provides more information for both the treatment and follow-up periods.
With progress and development in dentistry, the implant has become a reliable treatment option. However, it is not always suitable for every patient. Edentulous patients with severe atrophic ridges need removable prostheses as an alternative treatment option. In a conventional workflow, it takes much time to fabricate removable prostheses. There could be errors in every step, and it takes more time to correct these errors in a delivery appointment. How about using a digital workflow to improve accuracy? Despite all these advantages, removable prostheses still face many challenges in digital workflows. Therefore, we will share our experiences of digital removable prostheses at National Taiwan University Hospital and NTU Digital Center in this article.
How does a digital workflow help in complete dentures?
Many workflows for digitally fabricating complete dentures have been proposed in previous studies. The following is our fully digital workflow for fabricating complete dentures, and it might be suitable for most fully edentulous cases.
Appointment 1:
- The maxillary and mandibular ridges are scanned with an intraoral scanner to get the digital edentulous models (Fig. 1).
CAD/CAM 1:
- Maxillary and mandibular central bearing devices are designed on dental CAD software.
- The central bearing devices are printed with a 3D printer.
Appointment 2:
- The maxillomandibular relation is registered with the help of central bearing devices, which are custom-designed (Fig. 2).
- Face scans are obtained using a smartphone or professional facial scanner.
CAD/CAM 2:
- Registered bimaxillary digital-model and face-scan data are imported into dental CAD software.
- The face-scan data provides additional information and helps our design to be more esthetic (Fig. 3).
- The trial dentures are designed and printed with a 3D printer.
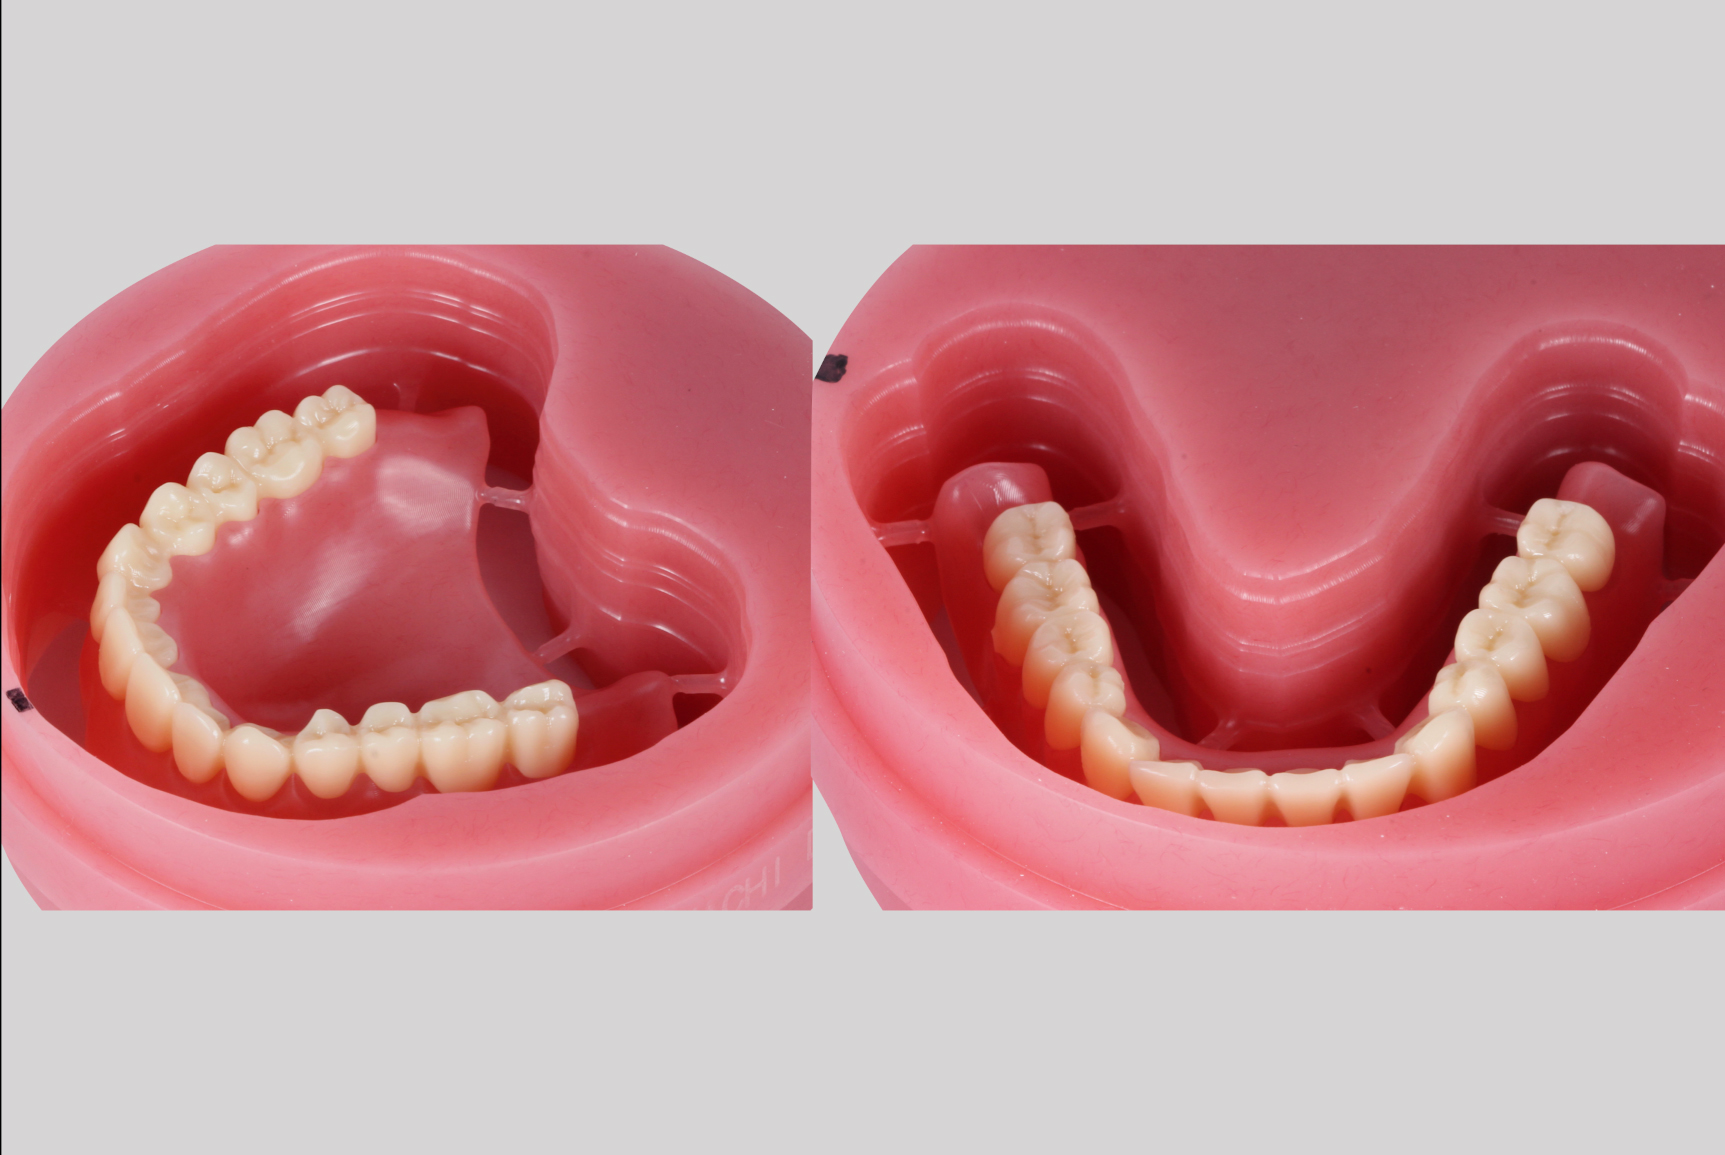
Appointment 3:
- Dynamic patient information can be easily shown with trial dentures in the mouth (Fig. 4).
- Trial dentures also serve as individual trays and record bases.
- Border molding is performed, and a closed mouth impression is achieved using vinyl polysiloxane impression material.
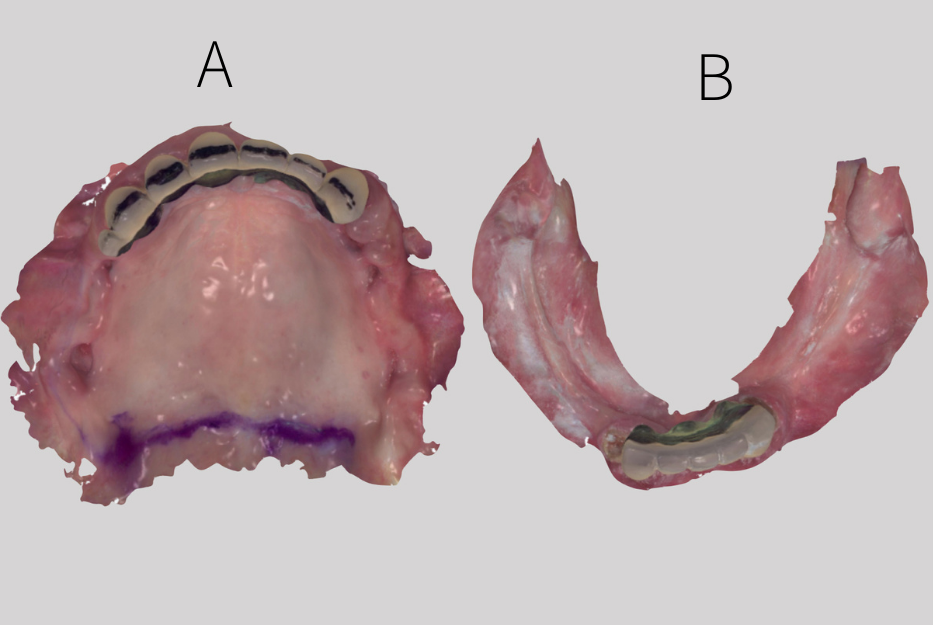
CAD/CAM 3:
- The trial dentures are scanned with a desktop scanner. This time the jaw relationship is more precise, and the maxillary and mandibular models have functional borders.
- Complete dentures are designed using all the information recorded on the trial dentures. Face-scan data are also easily aligned within the coordinate system to facilitate the design procedure.
- The denture teeth and denture bases are milled out with PMMA discs. The teeth are bonded on the denture bases with cement (Fig. 5).
Appointment 4:
- The dentures are fitted intraorally and delivered to the patient.


All the digital data can be easily put together, which is called digitally cross-mounted, in the patient coordinate system. It is convenient to change between different versions of denture teeth arrangement because denture teeth can be adjusted individually or in groups in the software. A virtual tooth set-up is much easier than a conventional wax-up. Facial scan data also provide a lot of facial landmarks. With a face scan incorporated into the database, the tooth set-up can be driven more by facial esthetics.
The “turn-on” and “turn-off” bar can be used to adjust the transparency of all objects, and resin teeth would not block essential landmarks. It helps us to place the teeth in ideal positions. The CAD/CAM procedure can save substantially on operating time without needing to wait for plaster setting, manually waxing up, and repeatedly checking facial landmarks.
Although a model-free digital workflow for fabricating complete dentures is reliable, there are still three issues of concern:
- The appearance of dentures
- The bonding strength between denture teeth and denture bases
- The strength of material for milling or printing denture bases and denture teeth
First, the appearance of milled or printed dentures is not nearly as good as that of conventional dentures. Post-processing, including staining, is usually necessary to achieve a more natural look with digital dentures. However, the staining is prone to wear after long periods of use.
Second, bonding strength decreases over time. After dentures have been in the mouth for a while, some gaps appear between the denture bases and teeth, where food debris and plaque accumulate and cause discoloration. Multilayer PMMA discs that can overcome the bonding problem are now available. Pink and tooth-color-shaded PMMA are compressed in the same disc, and no bonding procedure is required. However, this solution does not work for every case. Third, the material strength of CAD/CAM dentures is not as high as that in conventional dentures fabricated via compressed or injection-molded techniques. If denture bases are not strong enough, the occlusal force cannot be spread evenly over the whole denture. If the denture-tooth material is weak and wears out quickly, it cannot resist chewing forces, resulting in unstable occlusion. It might result in soft tissue ulceration, periodontal breakdown, or denture fracture.
How does a digital workflow help in interim removable partial prostheses?
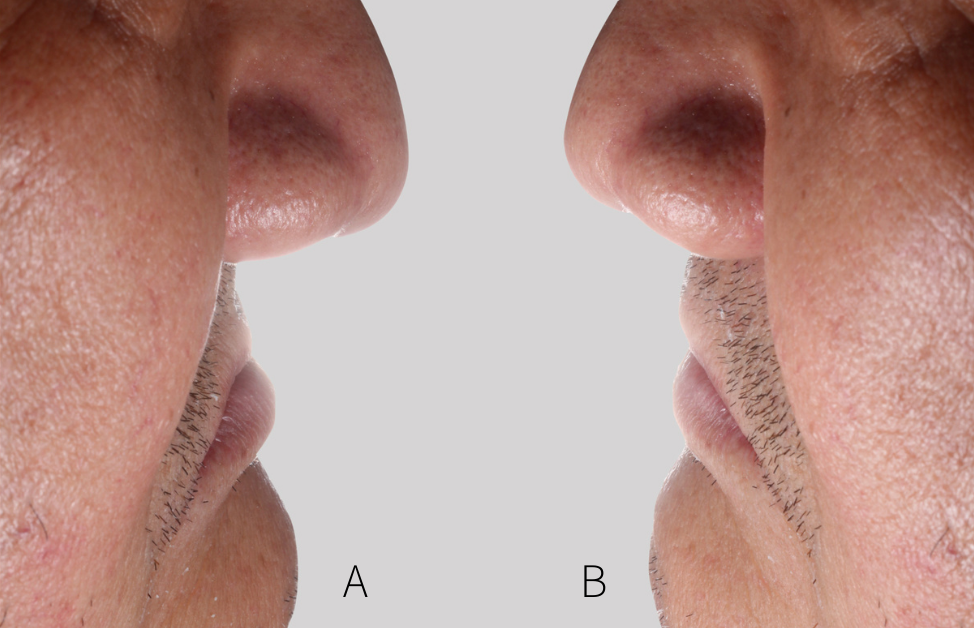
A maxillary immediate interim denture case was used to illustrate our digital workflow for fabricating interim removable partial prostheses. The patient presented with a long-span failing PFM bridge and many retained roots at the maxillary arch (Fig. 6). The tentative treatment plan was to extract all retained roots and hopeless teeth, fabricate the maxillary left second premolar surveyed temporary crown, and deliver a maxillary immediate interim denture.
Appointment 1:
- The maxillary and mandibular arches and maxillomandibular relation were recorded with an intraoral scanner for digital models.
CAD/CAM 1:
- Maxillary and mandibular digital models were imported into dental design software.
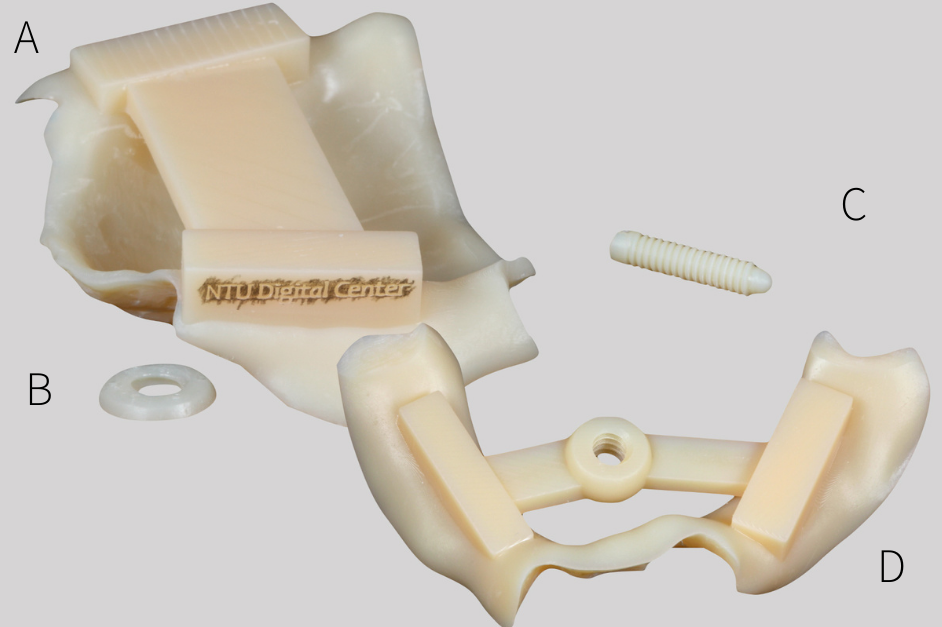
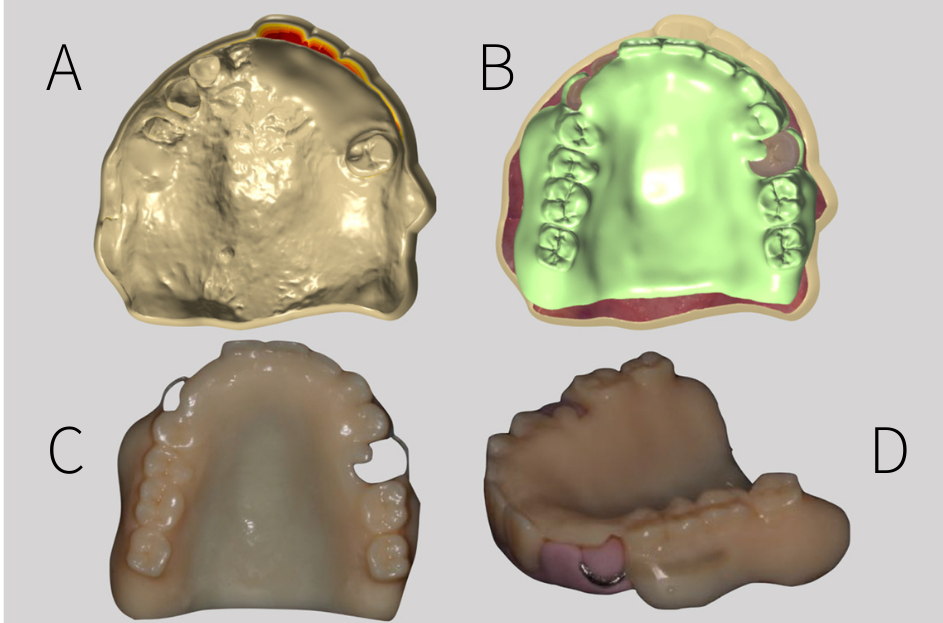
- The hopeless teeth were trimmed out, and the maxillary left second premolar morphology was modified as a surveyed crown with a rest seat on the occlusal surface, guiding plane, ideal surveyed line, and undercut (Fig. 7A).
- Use CAD software to design RPD framework, denture base, and denture teeth (Fig. 7B).
- The shell of the maxillary left second premolar surveyed crown was designed on the modified digital model.
- Shell of the temporary crown was milled from a PMMA disc.
- The immediate maxillary denture was printed out with a 3D printer and light-cured resin.
- The direction of clasps was recorded by a silicon key, and wrought wire was bent into clasps and assembled with the denture (Fig. 7C & 7D).
Appointment 2:
- The long-span failing PFM bridge was removed, hopeless teeth and retained dental roots were extracted
- Fit maxillary immediate denture intraorally and use it as a reference to prepare abutment and reline the PMMA crown
- Deliver the surveyed temporary crown and immediate denture (Fig. 8)
For interim removable prostheses, current digital techniques and available materials are passable. It is very efficient to design and fabricate removable prostheses and surveyed fixed prostheses together. Take this immediate denture case as an example; we used a model-free digital workflow to fabricate the immediate denture and the surveyed temporary crown simultaneously. We did not have to arrange teeth twice for the surveyed crown and again for the removable prostheses. Multiple set-ups are no longer needed because all the data can be aligned in the same coordinate system and provide helpful information using the digital workflow.
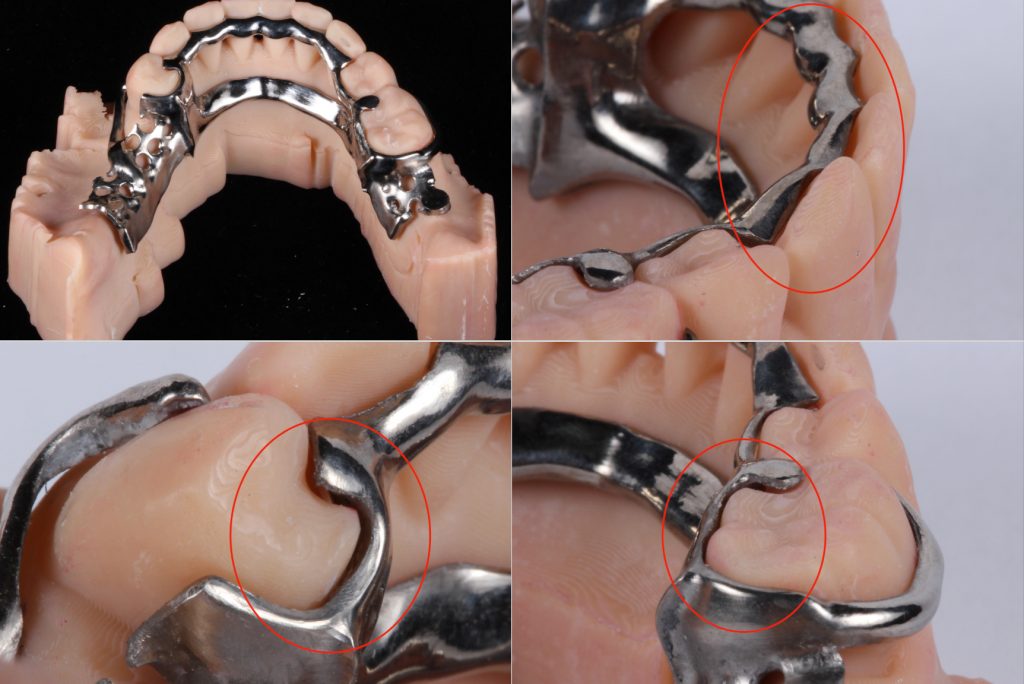
How about using a digital workflow to fabricate casting removable partial dentures?
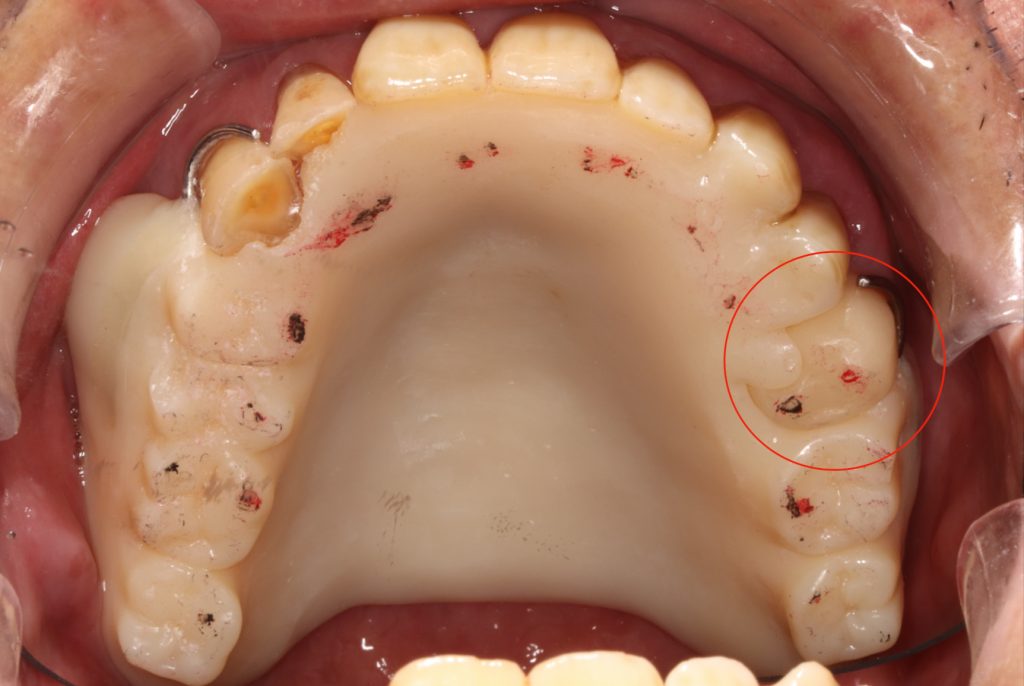
For a removable partial denture, manufacturing the framework is very time-consuming in a conventional workflow. From surveying, block-out, duplicating master model to refractory cast, waxing up, investing, to casting, all these procedures take time, and errors can be found at each step. In a digital workflow, changing the path of insertion is more accessible than in the conventional surveying method. Model block-out can be done by just pressing one button, and the block-out area viewed from all angles can be shown at the same time (Fig. 9). Refractory casts are no longer needed because the framework can be manufactured without a manual wax-up procedure. Framework design in CAD software and framework manufacture with printing or milling technique is the most time-saving procedure in RPD digital workflow.
Processing the denture base and denture teeth is a big issue in a model-free digital workflow. Some articles introduced framework, denture base, and teeth are assembled with adhesive material. This technique will leave a relatively weak interface between the framework and denture base. Some reports also proposed a model-free workflow without a pick-up technique. They seated the printed denture base and denture teeth on the framework and finished it using a conventional packing technique in which resin teeth were placed on the model after dewaxing. However, this workflow requires a specific resin teeth library.
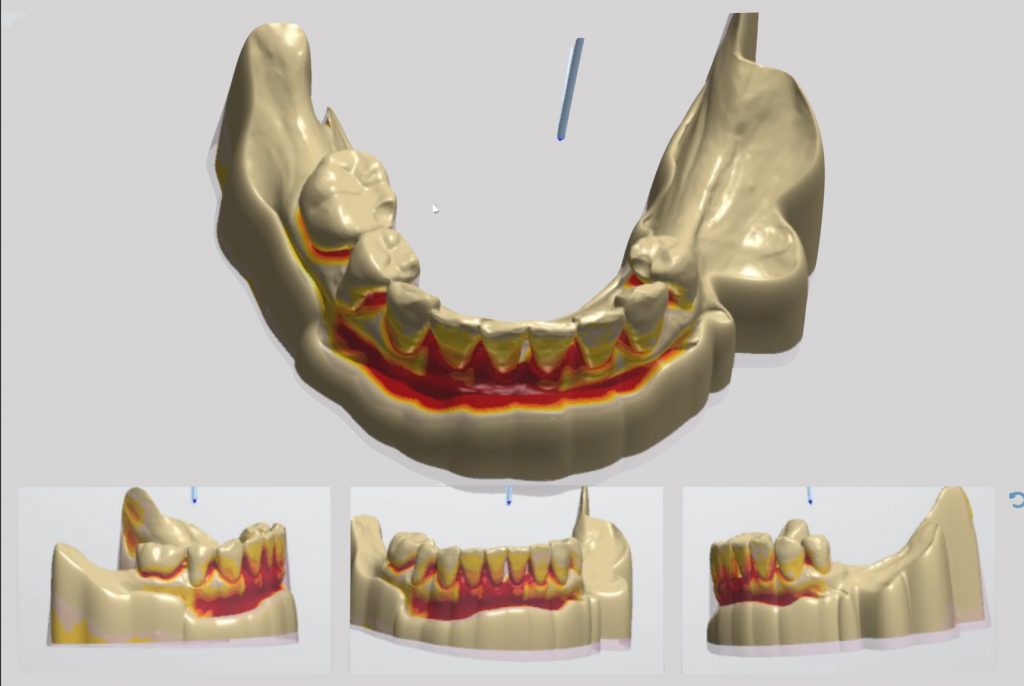
In conclusion, a model-free digital workflow to fabricate removable partial dentures does not yet seem very practicable. The denture has weak interfaces before delivery. How about printing the model? The model was designed from intraoral scan data in which the functional border is not able to be captured. However, printing accuracy is also an issue because the printers we used for the model are not as precise as the printers for the framework due to cost (Fig. 10). Errors accumulate and result in a misfit of the denture.
Combining analog and digital workflows seems to be a good option. Take an impression to record the functional border, pour out stone models, and scan the models to get digital data. Then manufacture the framework with CAD/CAM, just as discussed previously. Framework accuracy can be checked on a stone model before try-in intraorally. Lastly, the dentures are finished conventionally. Moreover, they will be one-piece-formed.
What is the future development of digital workflow in removable prostheses?
There are still many challenges facing the digital workflow for removable prostheses. The first is scanning accuracy when recording the soft and hard anatomical structures of an edentulous ridge. The soft tissue border is always an issue when using an intraoral scanner to get a master model. Is it possible to have a library of functional borders? Is it possible to convert the functional border impression to the digital database without a great deal of laboratory work? The second issue is the development and limitation of fabricating techniques. Is it possible to manufacture all the different materials in the same procedure? Finally, the strength and appearance of materials used in CAD/CAM techniques. Are these materials as durable as conventional materials?
Although digital removable prostheses still have many challenges, these digital tools reduce prosthodontists’ daily work. They make our ideas that once seemed impossible a reality, and this is how we find joy in our practice. Most important of all, it benefits patients.